
Tech
Help with Paint in Windows 10 & 11: Easy User Guide
Microsoft Paint, often called MS Paint, is a simple yet useful image editing tool that has been part of Windows for decades. It is included with most Windows versions, including Windows 10 and Windows 11, and allows users to create, edit, and save images without needing advanced software. This guide provides detailed help with Paint in Windows, focusing on its features, tools, and how to perform basic tasks. It is designed for beginners who have never used Paint before.
What is Microsoft Paint?
Microsoft Paint is a free, built-in program available on Windows computers and laptops. It is ideal for creating basic graphics, editing screenshots, and performing small tasks like cropping or resizing images. While it does not have advanced editing options like Photoshop, it is easy to use and suitable for quick edits or simple creative projects.
How to Access Microsoft Paint in Windows 10 and 11
If you have a Windows PC, there is a good chance that Paint is already installed. You can open it by following these steps:
- Click on the Start menu.
- Type “Paint” in the search bar.
- Select the Paint app from the search results.
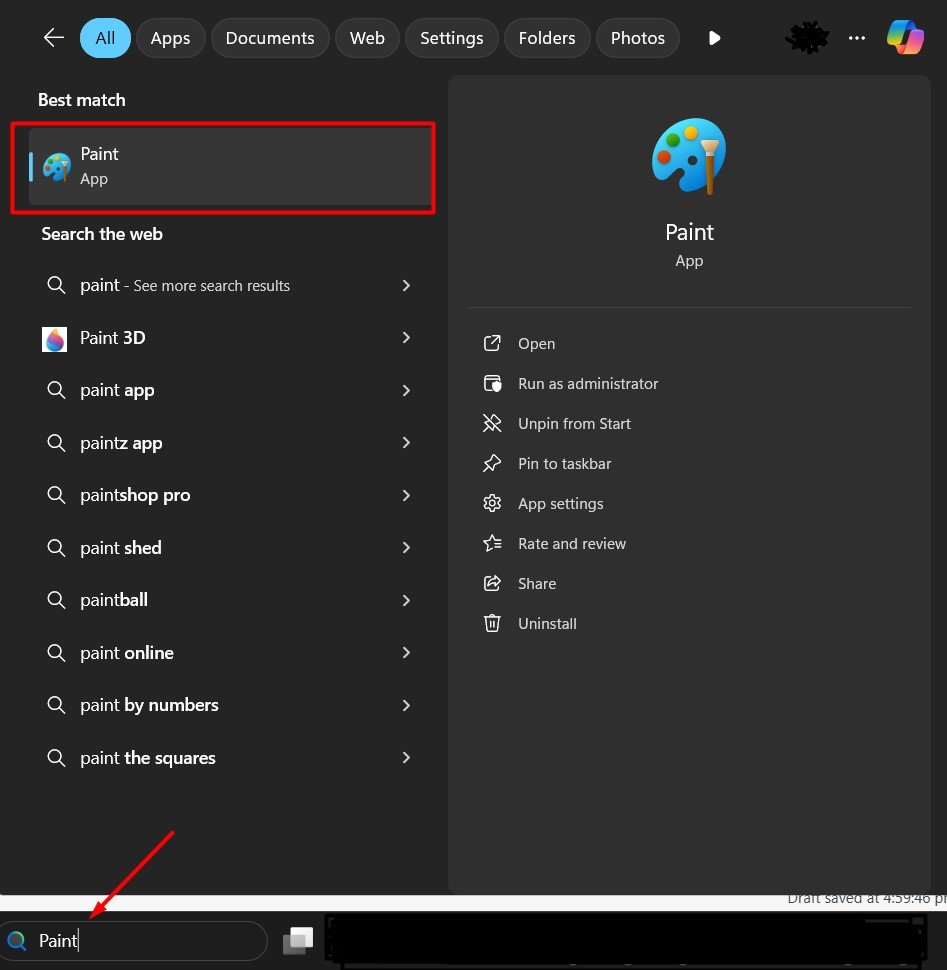
If it is not available on your system, you can use the Microsoft Paint download option from the Microsoft Store.
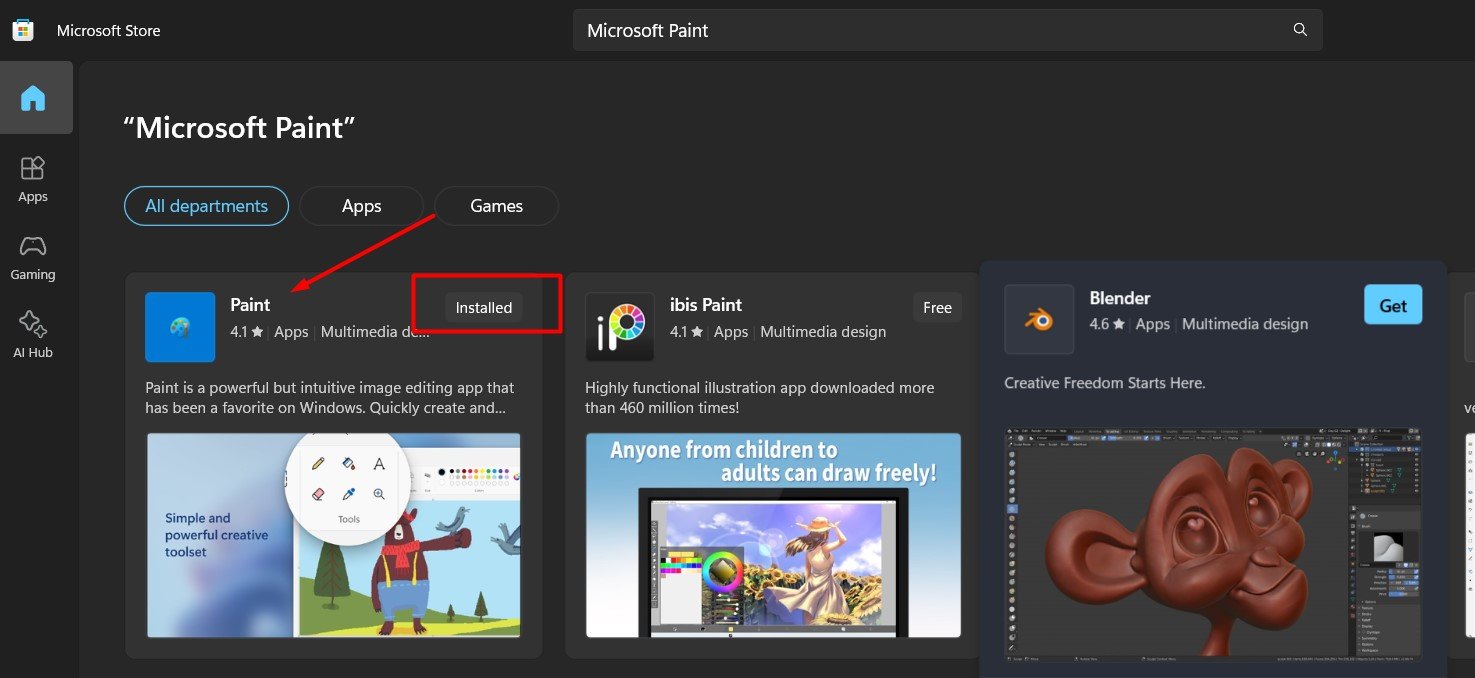
Microsoft Paint Download Steps
For users who cannot find Paint on their computer, downloading it is easy.
- Go to the Microsoft Store.
- Search for “Microsoft Paint.”
- Click on “Get” to download and install the app.
- Once installed, it will be ready for use like any other application.
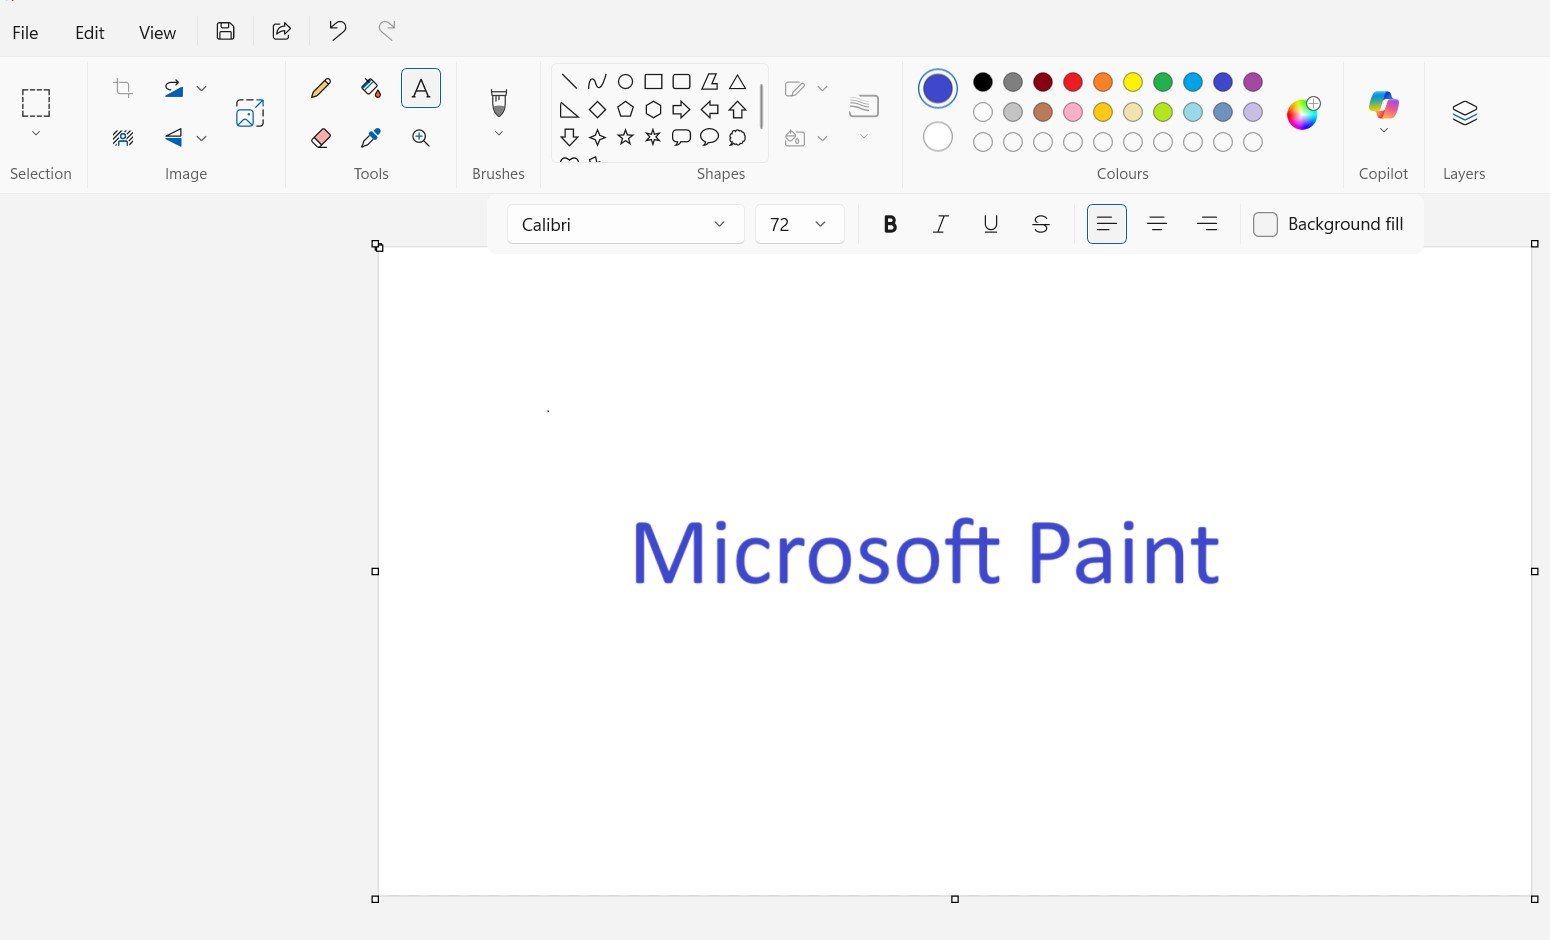
Interface Overview
When you open Paint, you will see a clean and simple interface. It is divided into a few main areas:
- Toolbar: Located at the top, containing all the tools such as brushes, shapes, text, and selection tools.

- Drawing area: The main canvas where you create or edit your image.
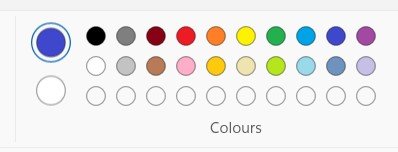
- Colour box: Displays colour options to choose foreground and background colours.
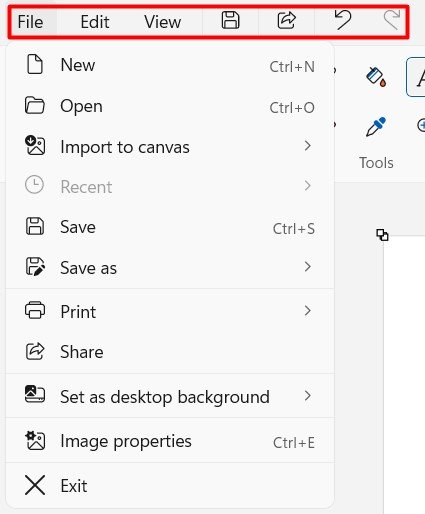
- Menu bar: Offers file options like opening, saving, or printing an image.
Key Features of Paint
Paint has a range of basic but effective features, including:
- Drawing tools like pencils, brushes, and shapes.
- Options to fill areas with a solid colour.
- Resize, crop, or rotate images.
- Add text to images.
- Save images in multiple formats like JPEG, PNG, BMP, or GIF.
- Basic background editing and colour selection.
Check out: How to Enable or Turn Off BitLocker on Windows 11
Getting Started with MS Paint Drawing
If you want to start a simple MS Paint drawing, follow these steps:
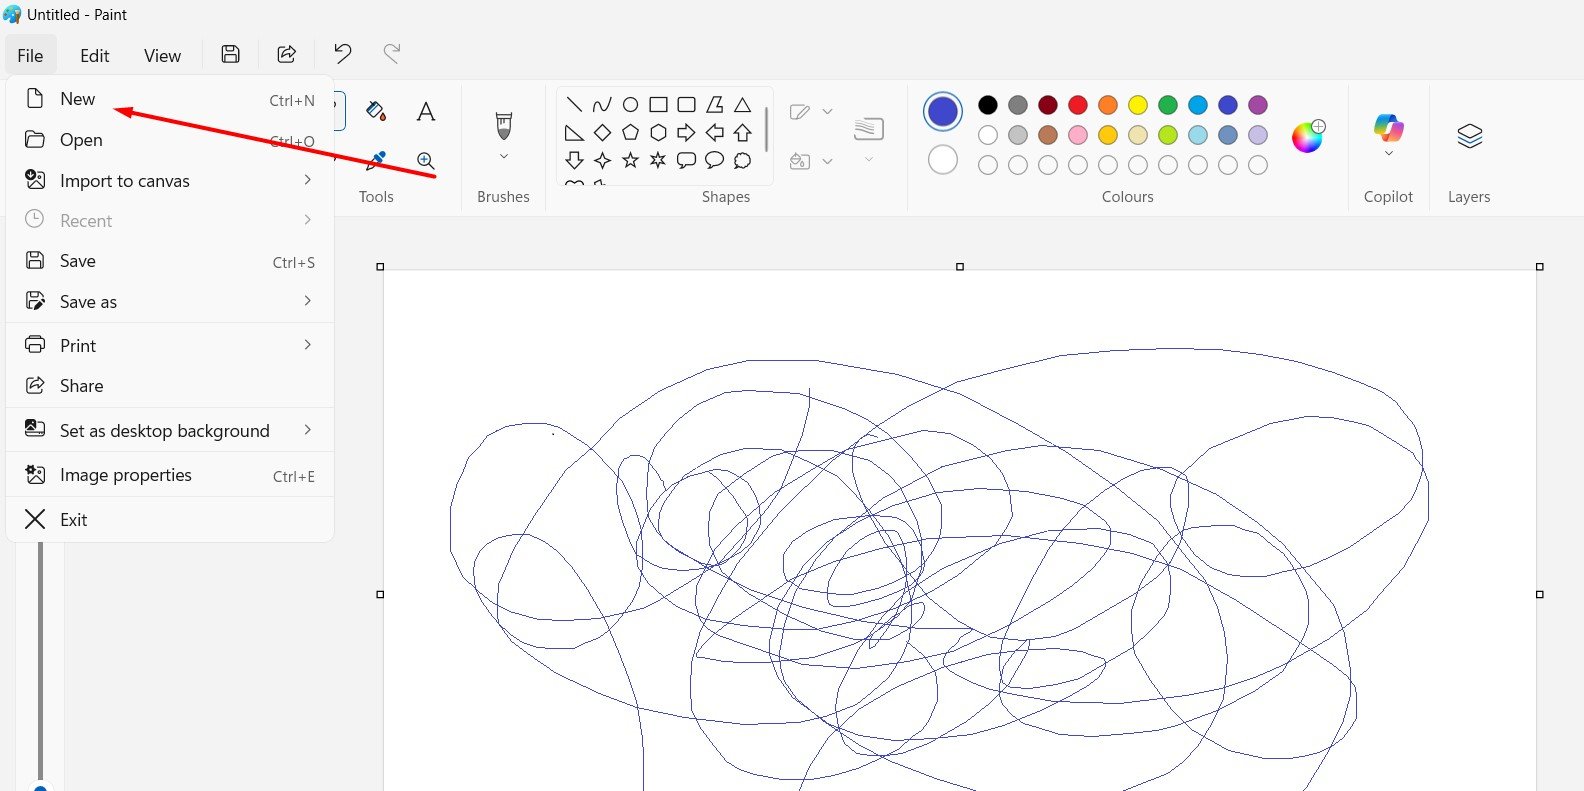
- Open Paint and click on File > New to start with a blank canvas.
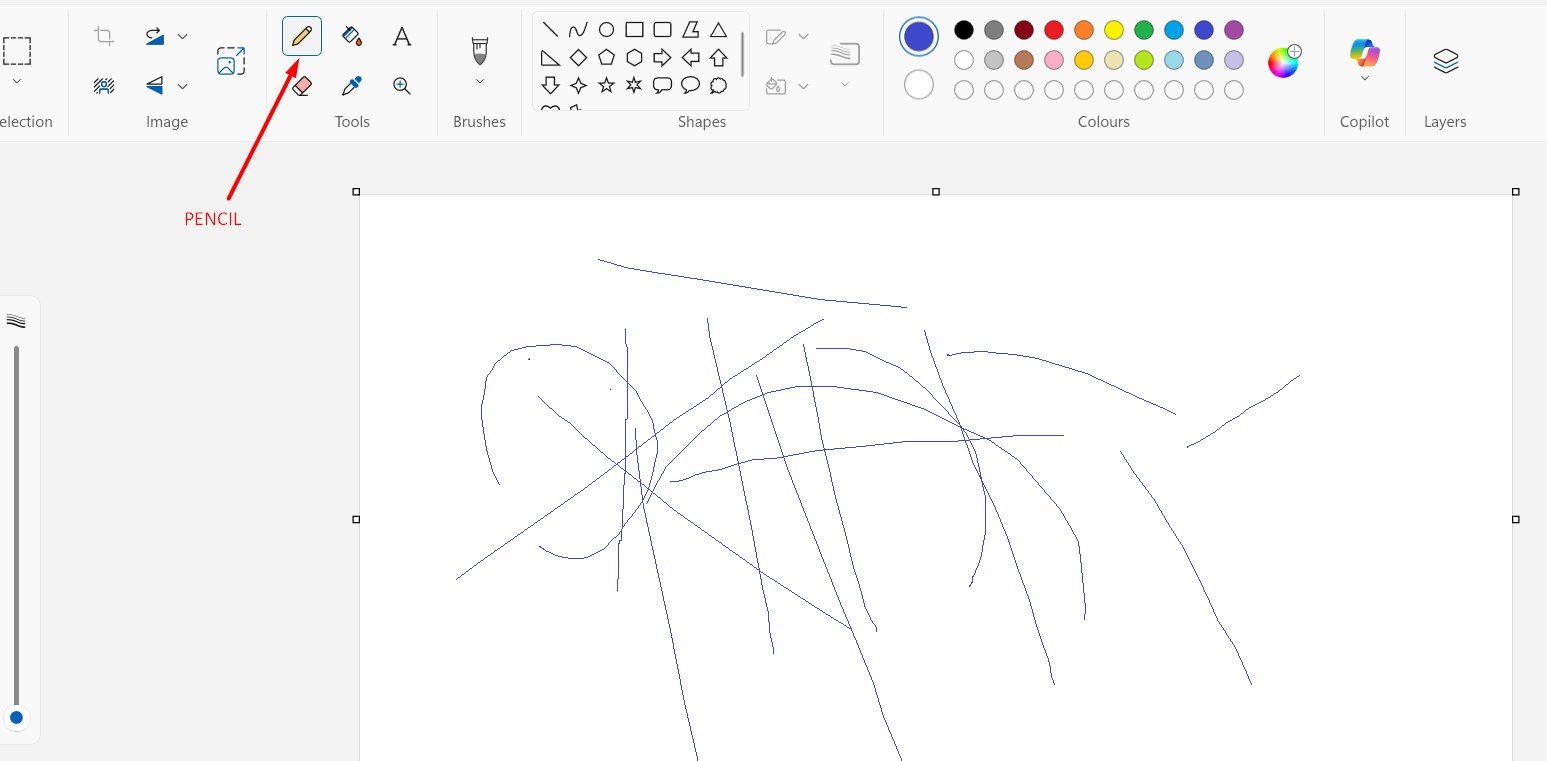
- Use the pencil tool to draw freehand lines.
- Try brushes for different line effects.
- Use shapes like rectangles, circles, or polygons for precise objects.
- Pick colours from the colour palette to apply to your drawings.

How to Create and Edit a Background
Changing or editing a background is easy with Paint.
- Open the image you want to edit.
- Use the Fill tool to apply a solid colour to the background.
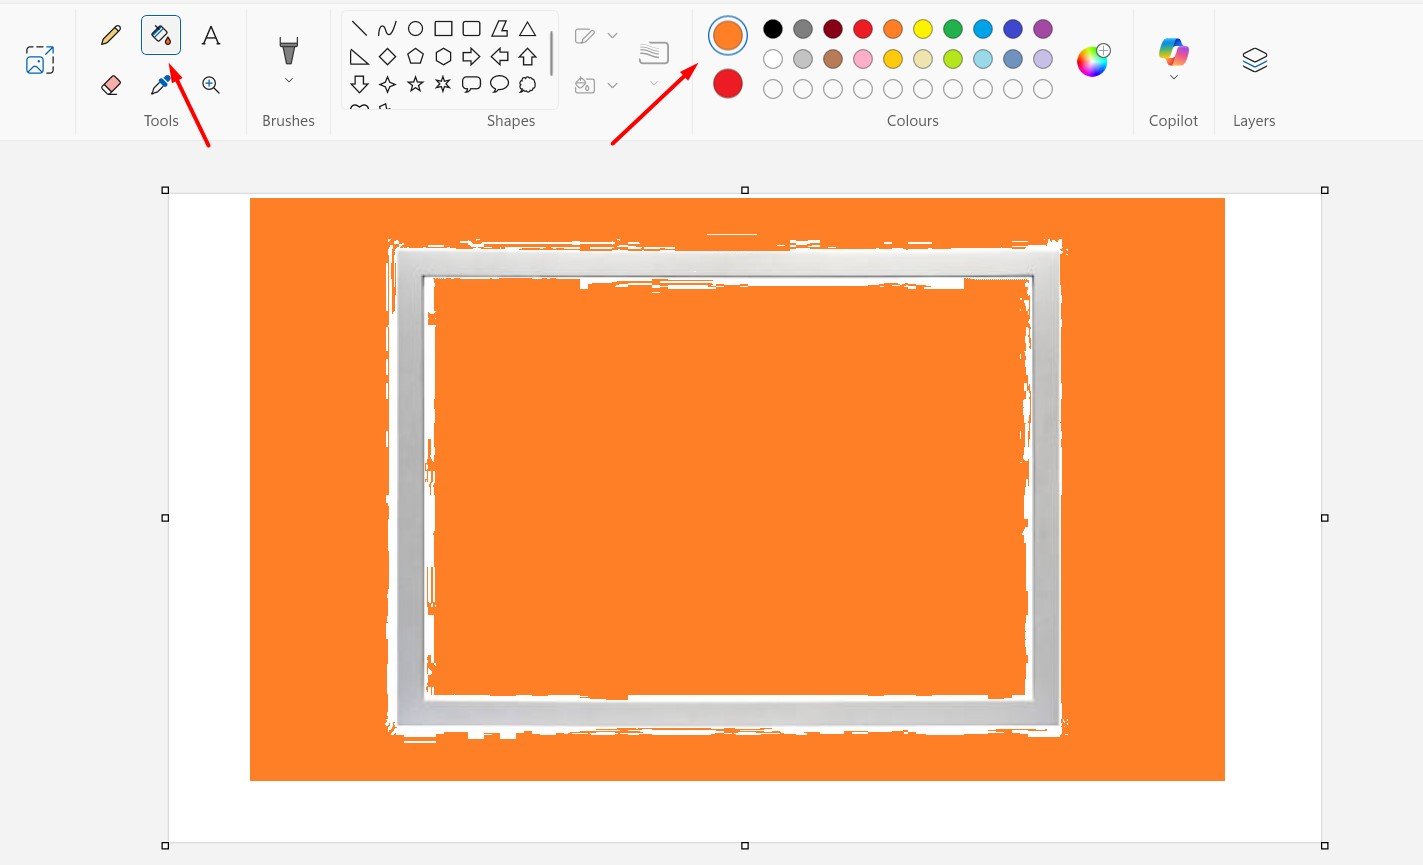
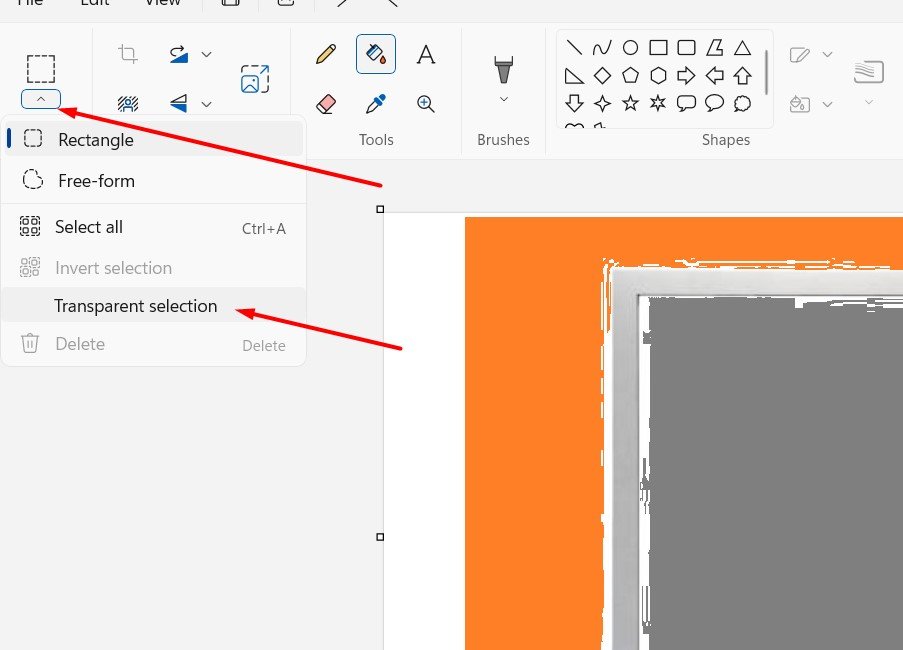
- For more detailed edits, use the Select tool and choose “Transparent Selection” to replace parts of the background.
- You can also crop areas you do not need, effectively removing unwanted parts of the background.

Basic Tools in Microsoft Paint
Paint’s tools are simple and intuitive:
- Pencil: For freehand drawing.
- Brushes: For more artistic lines with different textures.
- Eraser: To remove unwanted parts of your image.
- Text Tool: Allows you to add text with custom fonts and sizes.
- Shapes: Offers predefined shapes like squares, lines, and arrows.
- Colour Picker: Selects any colour from the canvas.
- Fill Tool: Fills a selected area with the chosen colour.
How to Save and Open Files
When your drawing or editing is complete, saving your work is important.
- Click File > Save As.
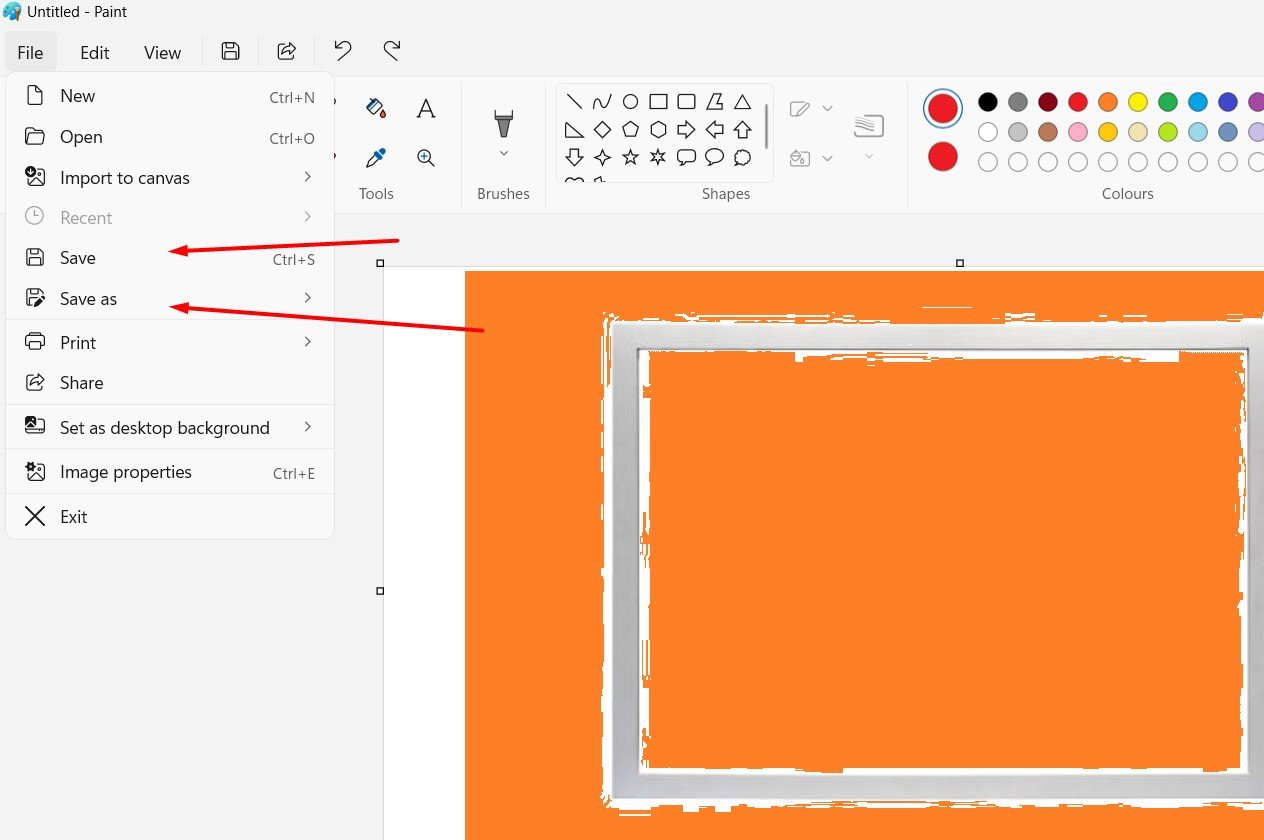
- Choose your preferred format (JPEG is common for photos, PNG for transparent backgrounds).
- Select the location where you want to store the file.
- To open an image, click File > Open and browse for the file you need.
Cropping and Resizing Images
If you want to adjust the size or cut out parts of an image:
- Use the Select tool to choose the area you want to keep.
- Click Crop to remove everything outside the selected area.
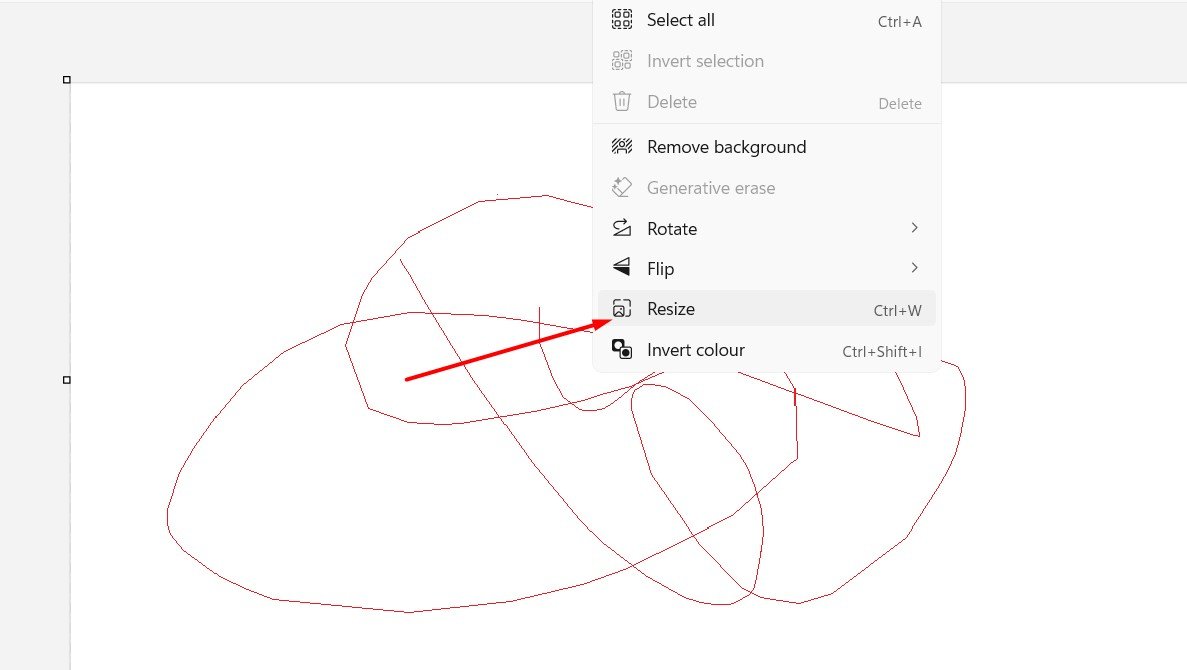
- For resizing, right-click the canvas > go to Resize > select percentage or pixel values to make the image smaller or larger.
Adding Text to an Image
To add text to your image:
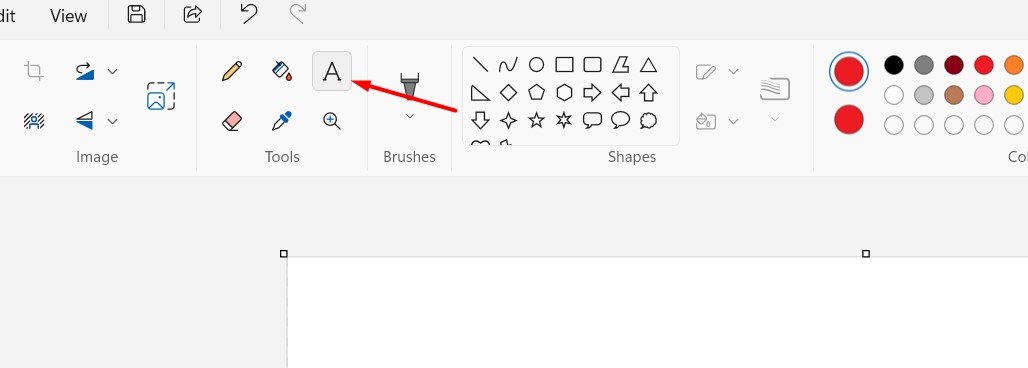
- Click the Text tool (marked with “A” in the toolbar).
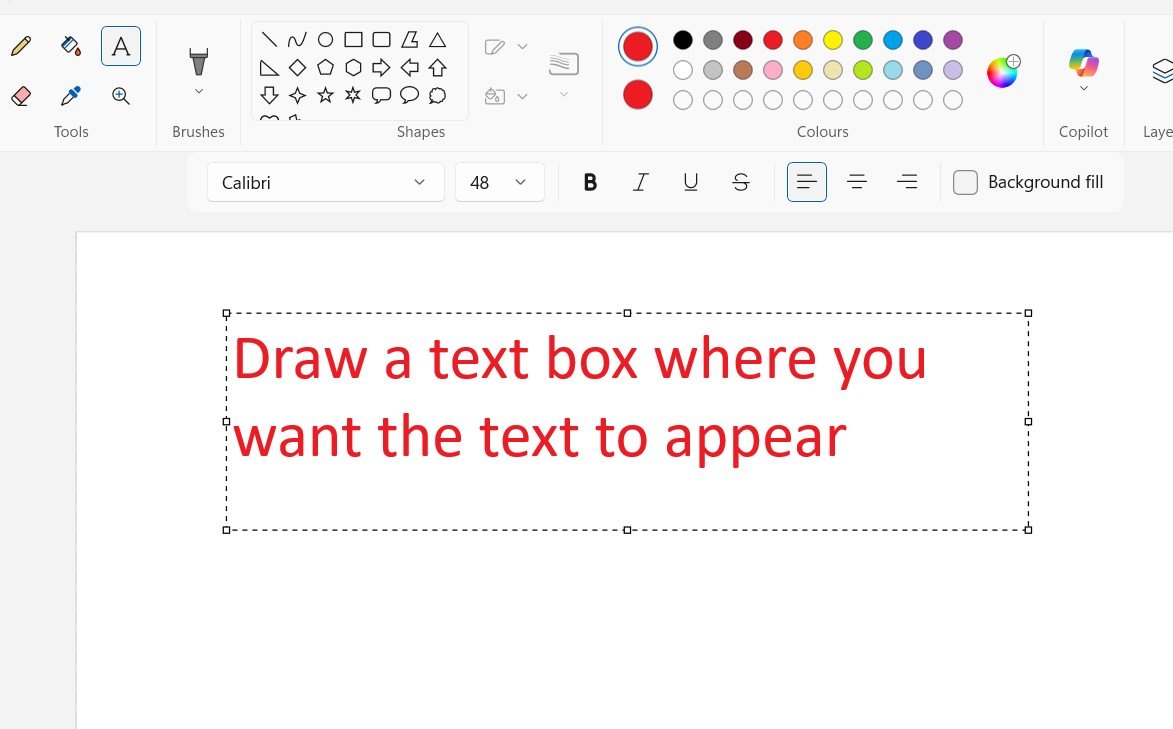
- Draw a text box where you want the text to appear.
- Type your message, and use the font and size options on the top bar.
- Adjust text colour using the colour box.
Printing from Paint
If you need to print your drawing or edited image:
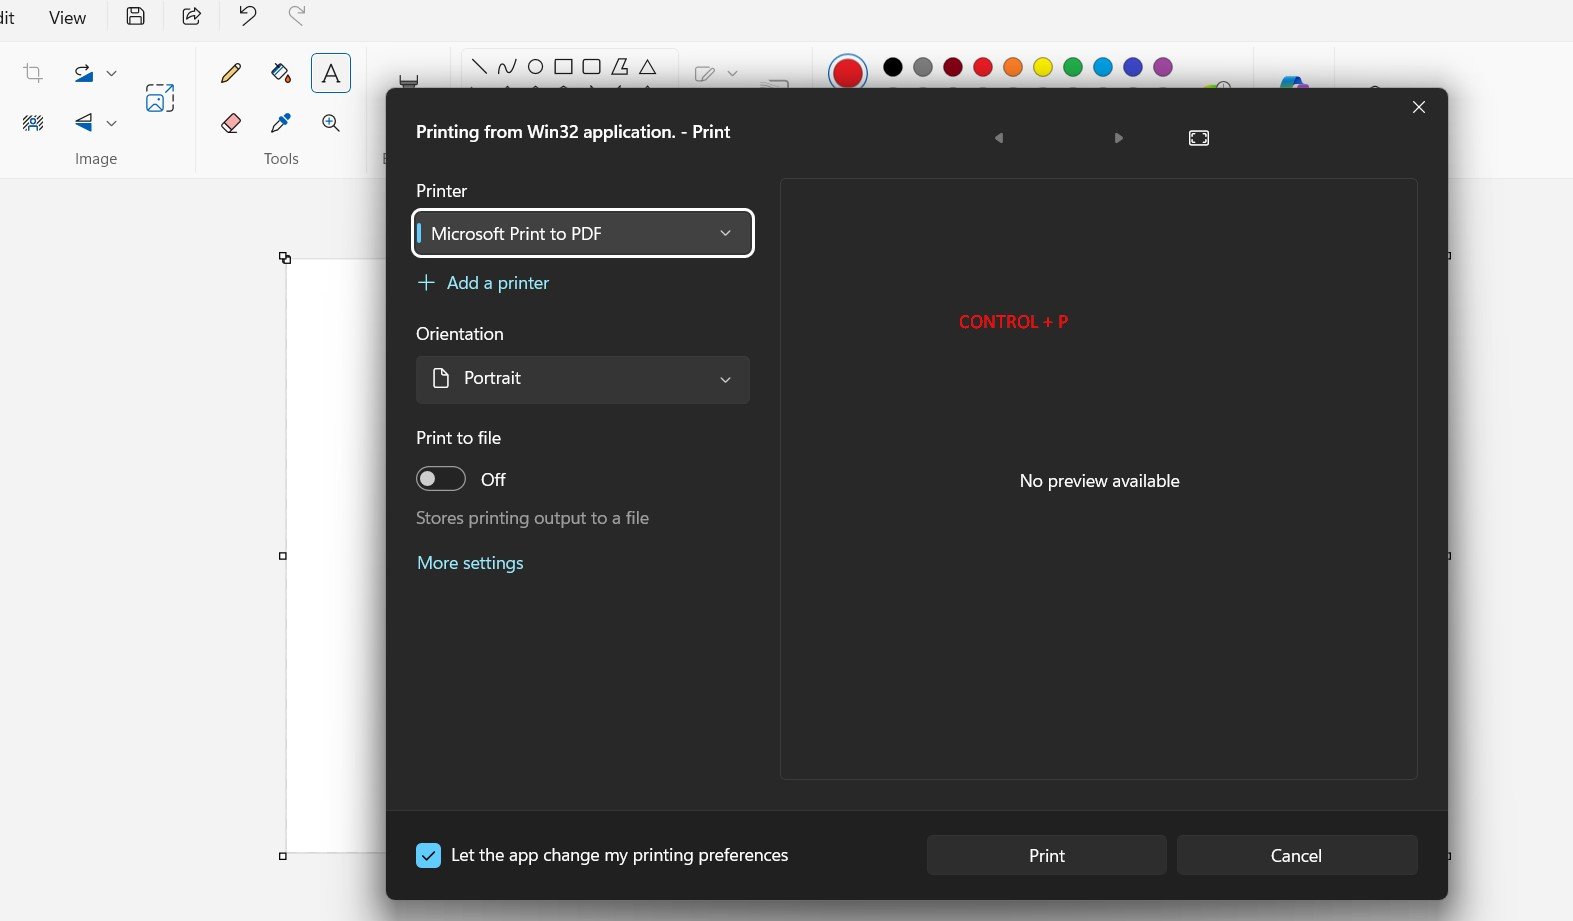
- Click File > Print or Press CTRL + P (Short cut)
- Choose the printer and adjust the page settings.
- Click Print to start the process.
Tips for Beginners
- Experiment with tools to understand their functions.
- Use Undo (Ctrl + Z) to reverse mistakes.
- Save your work often to avoid losing progress.
- Use the Zoom tool to work on small details.
How to Use Brushes and Advanced Drawing Tools
Brushes in Microsoft Paint allow users to create different textures and strokes. Here is how to use them:
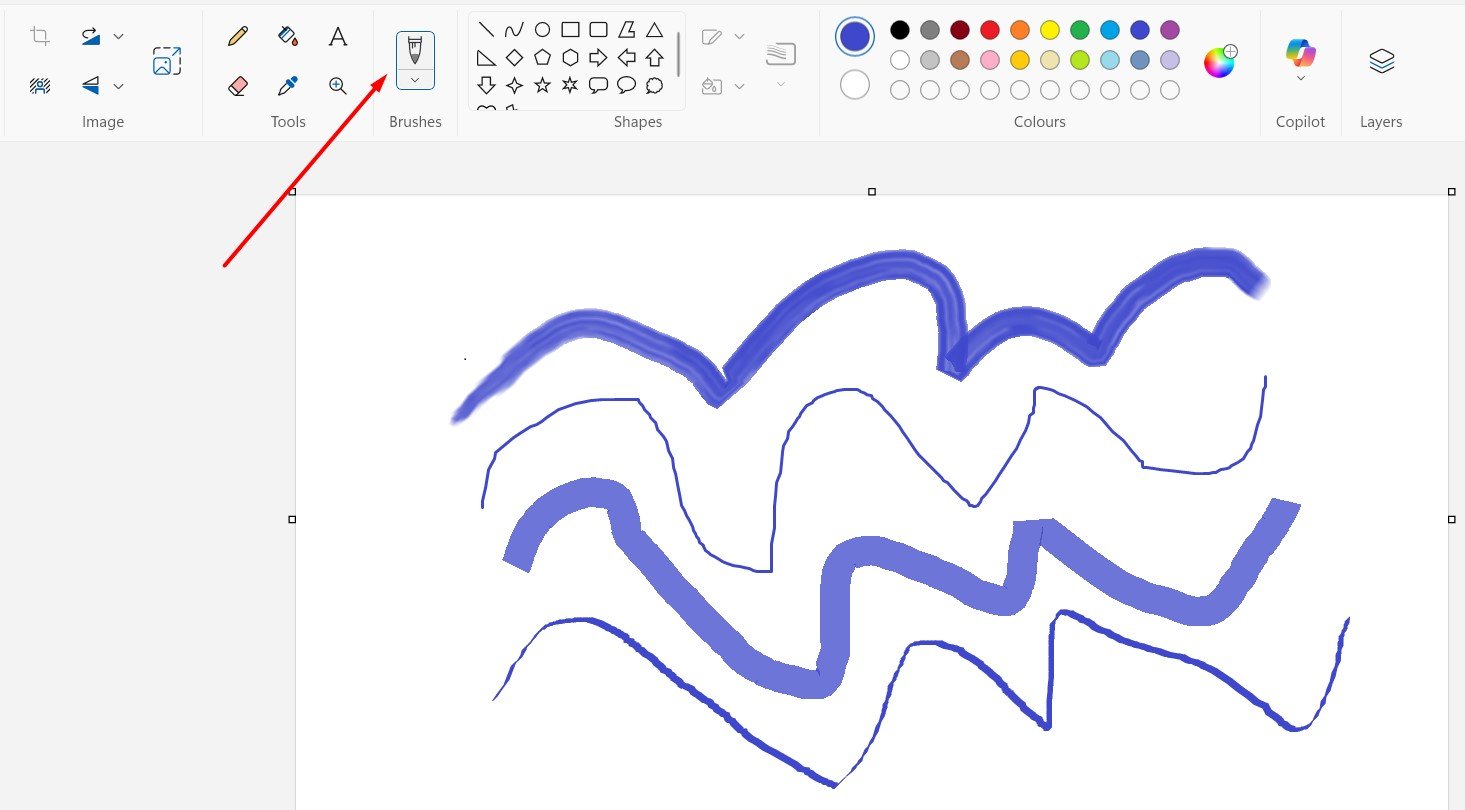
- Click on the Brushes tool from the toolbar.
- Select the type of brush you want, such as calligraphy, airbrush, or oil brush.
- Adjust the brush size using the Size option.
- Choose a colour from the palette and start drawing on the canvas.
- Brushes help create smooth curves and realistic effects in MS Paint drawing.
Using Shapes for Better Designs
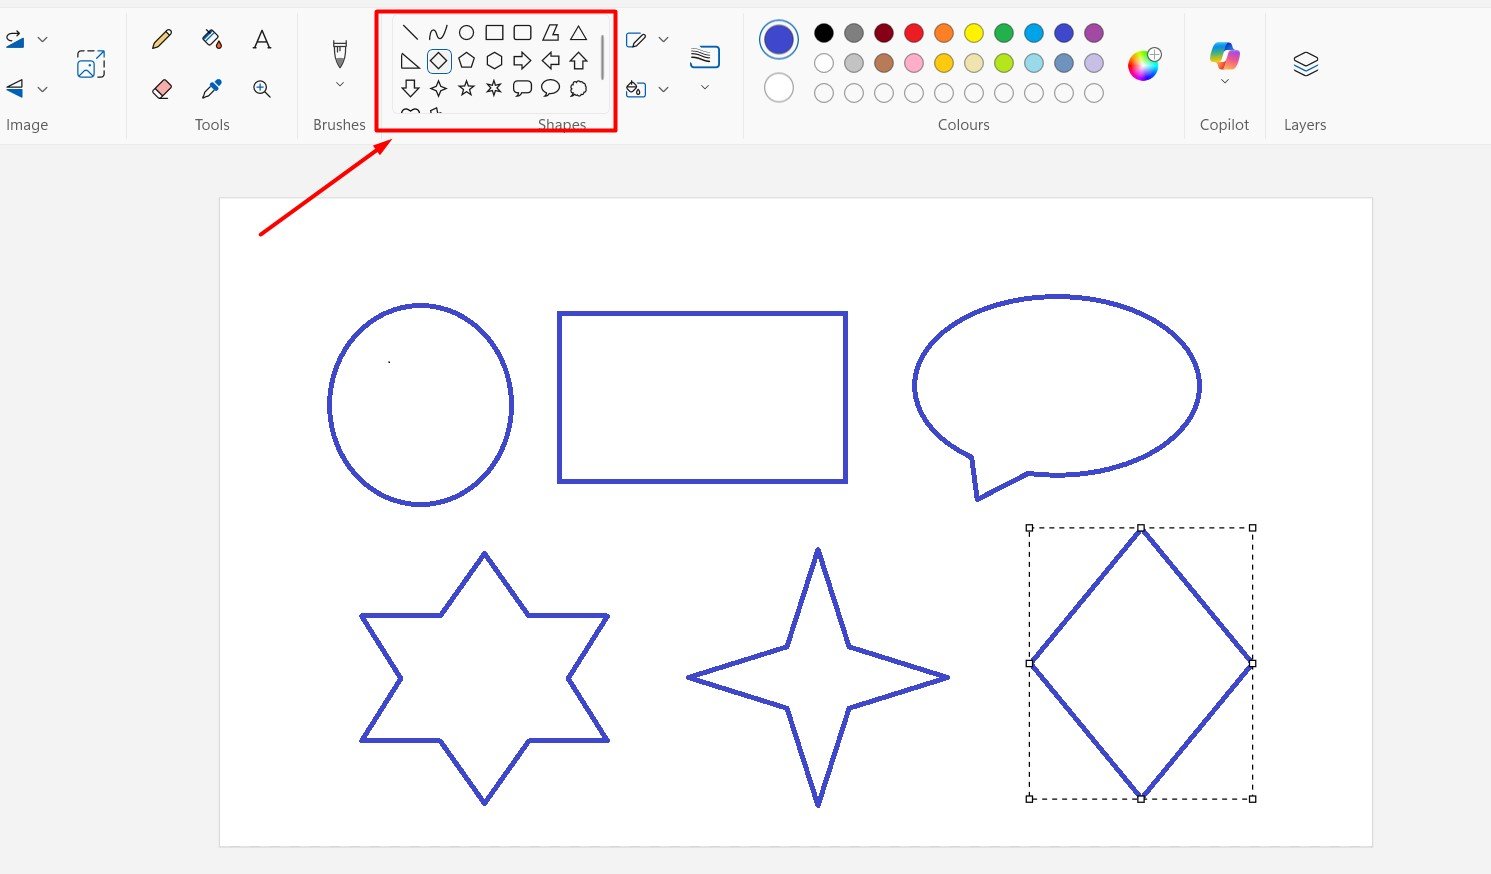
Paint includes a variety of shapes like rectangles, circles, triangles, and arrows. You can also use rounded rectangles and custom polygons. To draw a shape:
- Select a shape from the Shapes menu.
- Click and drag on the canvas to form the shape.
- Use the Outline and Fill options to add colour and style.
- This feature is useful for creating diagrams or structured designs.
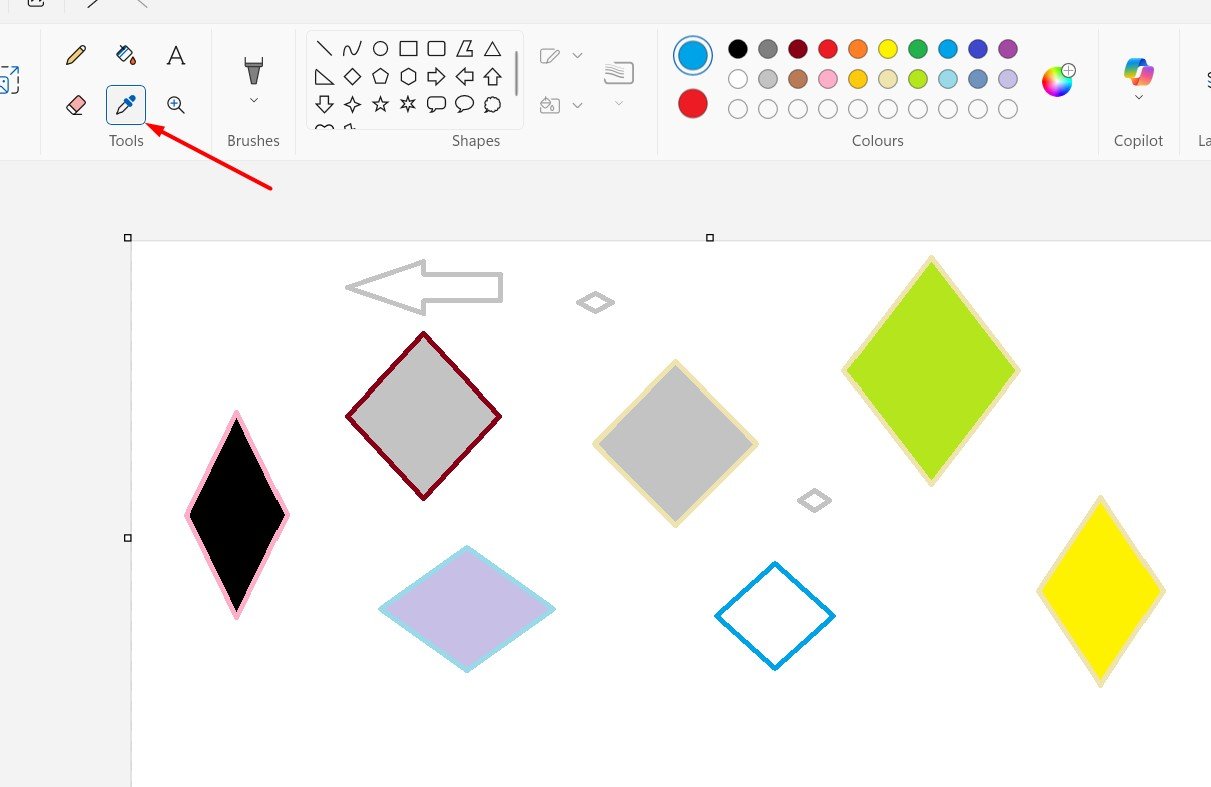
How to Use the Colour Picker
The Colour Picker is a tool that helps you match colours from an existing image. Here is how it works:
- Select the Colour Picker tool from the toolbar.
- Click on any part of your image to capture its colour.
- The chosen colour will now be your active colour in the palette.
- This is useful when you want to keep a consistent colour theme while editing or creating a background.
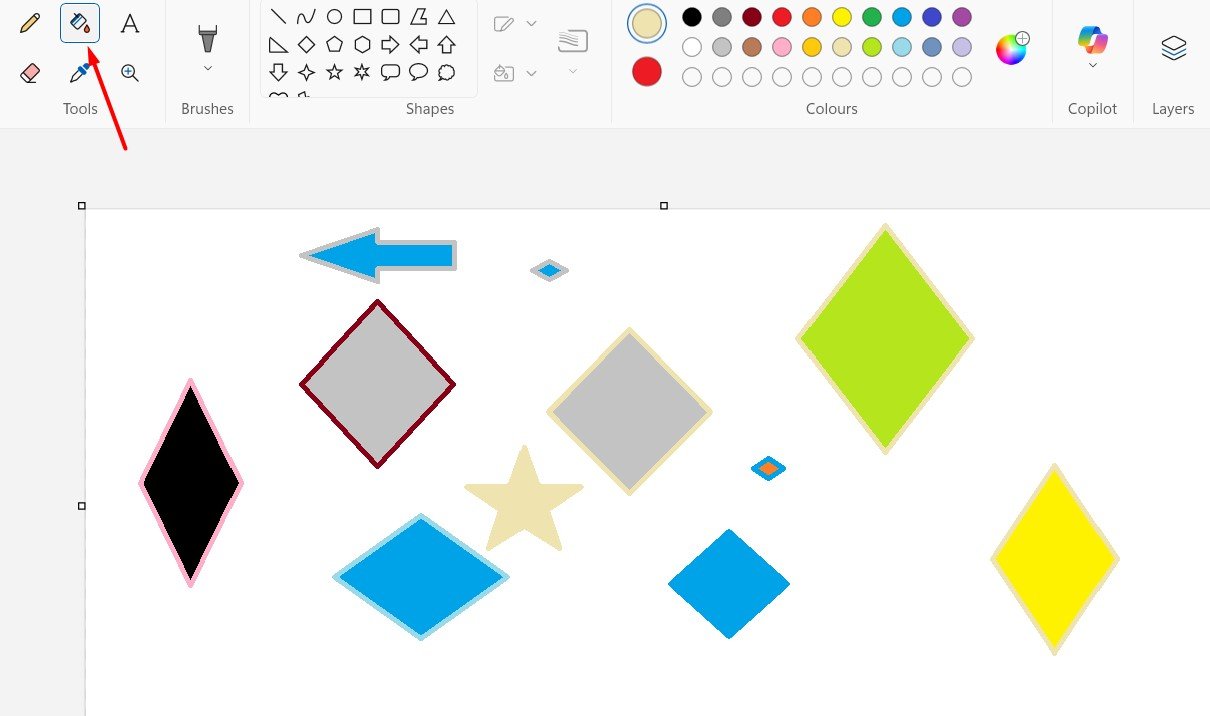
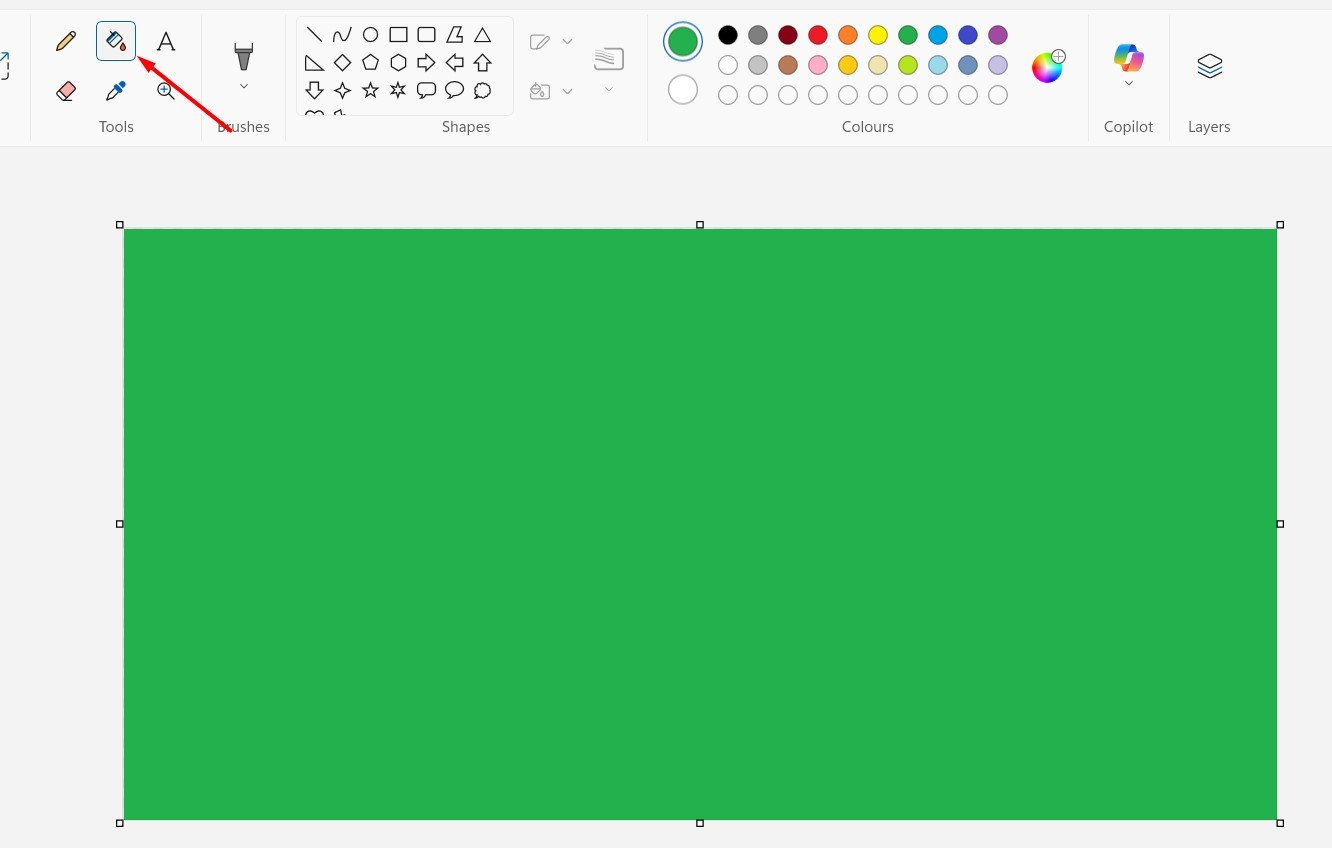
Using the Fill Tool
The Fill Tool allows you to quickly fill an area with a chosen colour. To use it:
- Select the Fill Tool (paint bucket icon).
- Pick a colour from the palette.
- Click on the area you want to fill.
- Make sure there are no gaps in your outline, or the colour will spread beyond the intended area.
Undo and Redo Options
Mistakes happen, but Microsoft Paint makes it easy to fix them.
- Use Ctrl + Z to undo the last action.
- Use Ctrl + Y to redo an action you just reversed.
- You can undo or redo multiple steps, which is very helpful for beginners.
Also read: Get Help with File Explorer in Windows 10 & 11 Easily – Step by Step Guide
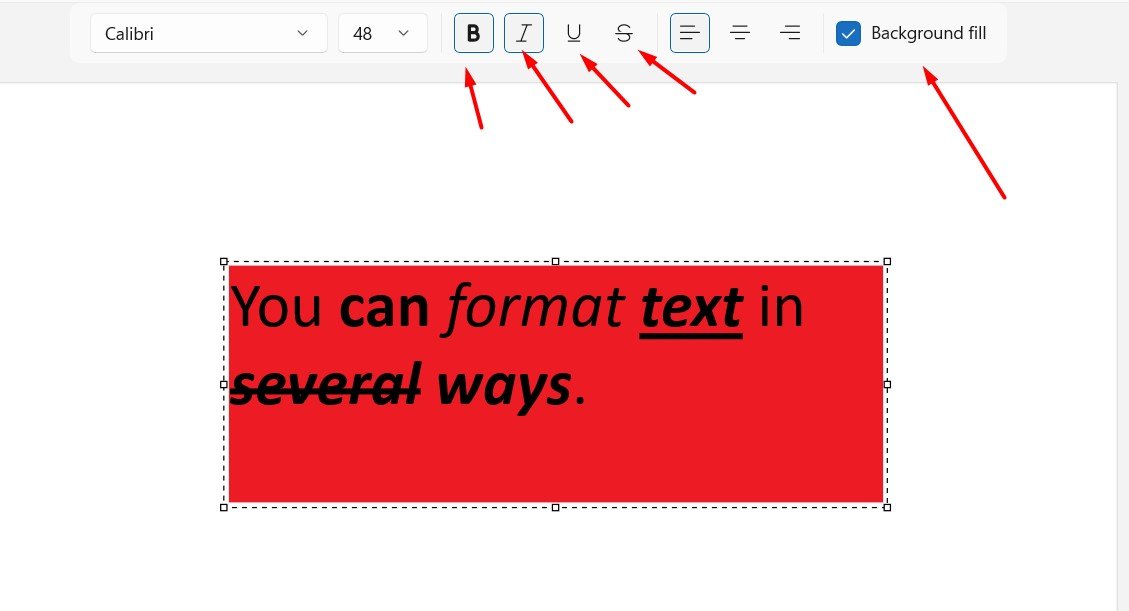
Adding and Editing Text
You can format text in several ways. Once you add a text box:
- Highlight the text and select a font style from the top menu.
- Adjust font size, boldness, or italic effects.
- Use the colour palette to change text colour.
- Make sure to finalise your text before clicking outside the text box, as it cannot be edited afterward.
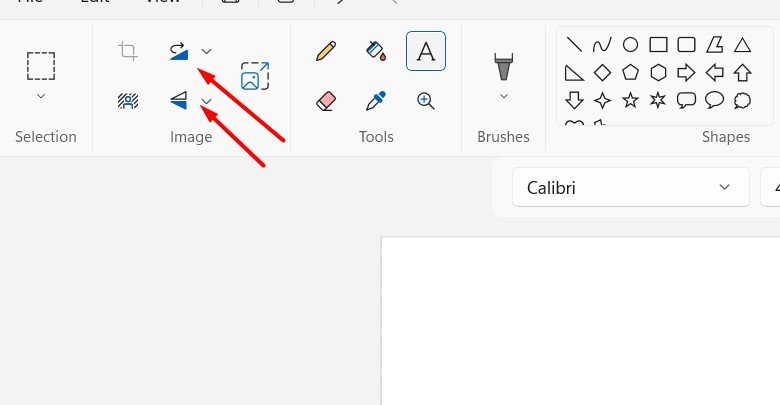
How to Rotate or Flip an Image
Paint lets you rotate or flip images easily.
- Click on the Rotate option in the toolbar.
- Choose Rotate Right 90°, Rotate Left 90°, or Flip Horizontal/Vertical.
- This feature is useful for adjusting photos or aligning drawings.
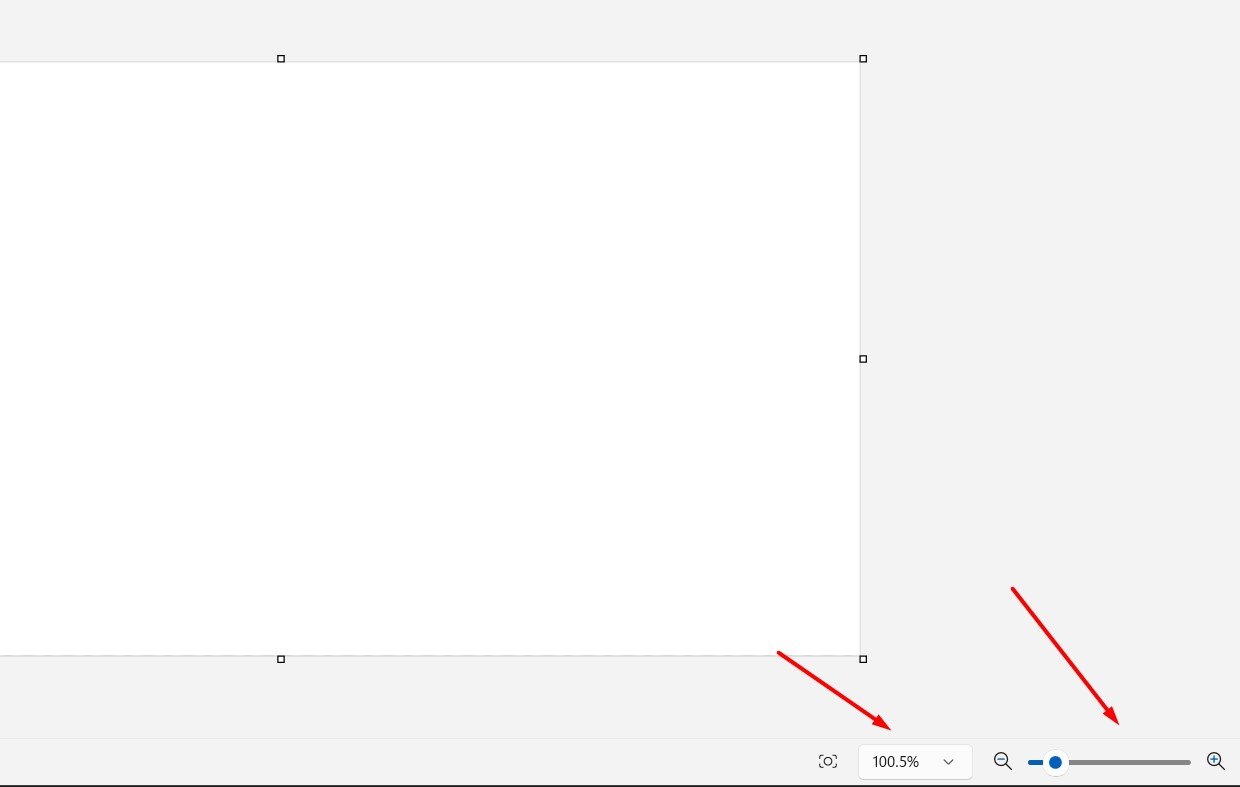
Zooming In and Out
Zooming is essential when working on fine details.
- Use the Zoom tool in the bottom-right corner of the window.
- Alternatively, press Ctrl + Plus (+) to zoom in or Ctrl + Minus (-) to zoom out.
- This helps create detailed MS Paint drawings without losing precision.
How to Set a Custom Background
If you want to change the default white background to another colour or image:
- Click on the Fill tool and select a colour.
- Click anywhere on the canvas to change the entire background colour.
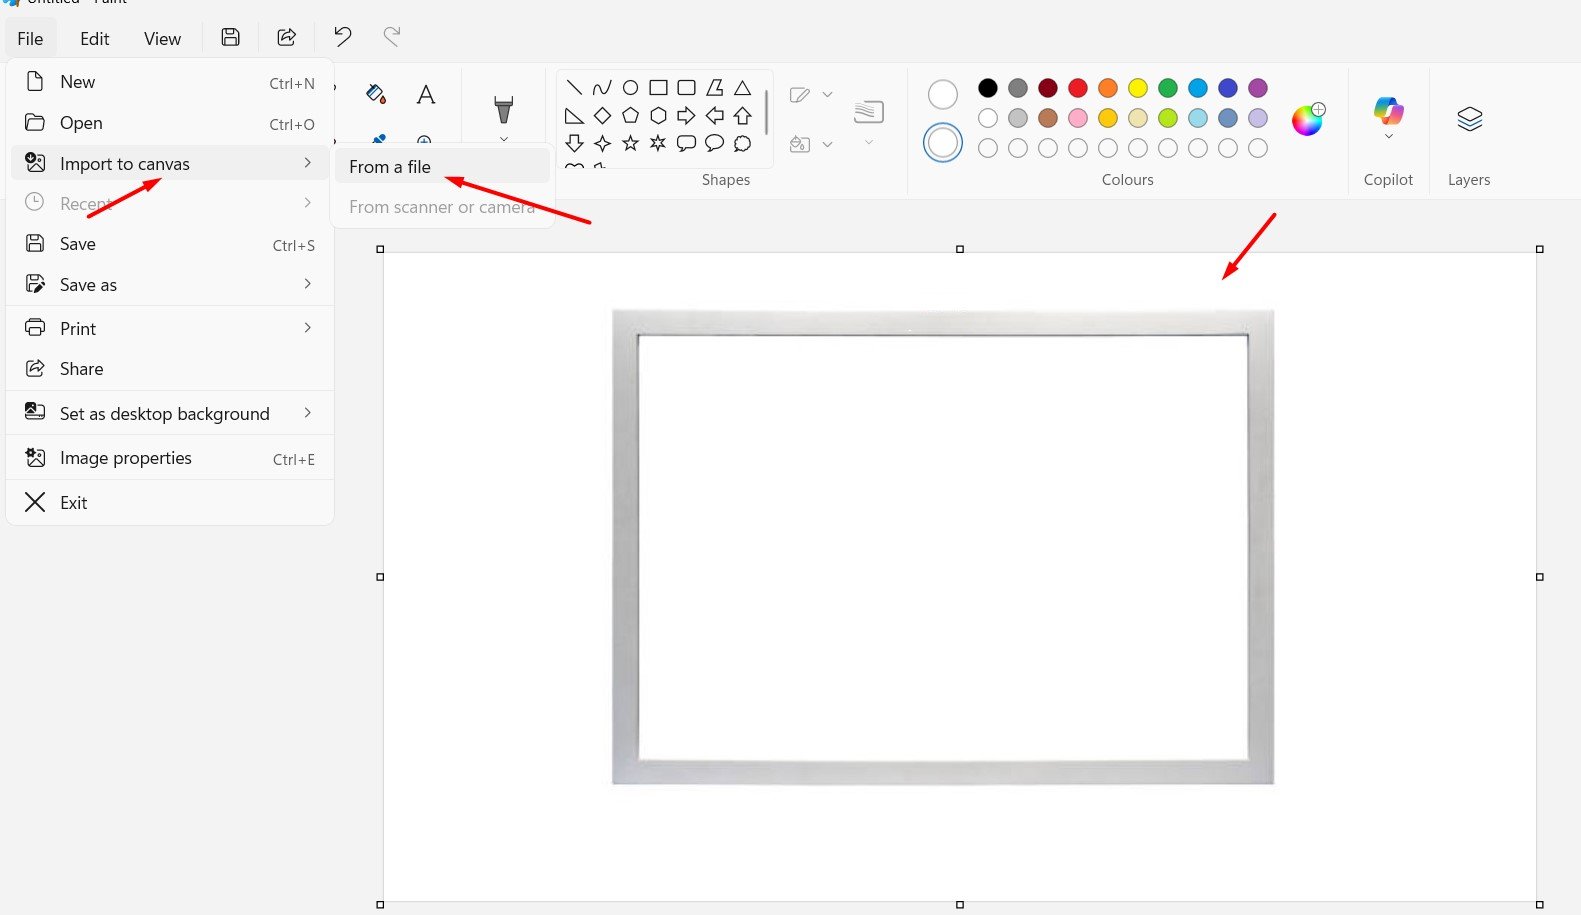
- For a picture background, open the desired image first and edit over it.
- Custom backgrounds can give your drawings a unique look.
Working with Multiple Images
Paint does not support layers like advanced editors, but you can still work with multiple images by copying and pasting.
- Open the first image.
- Use Ctrl + A to select the entire image or Select Tool for specific parts.
- Press Ctrl + C to copy and Ctrl + V to paste it into another file.
- You can then move and adjust the pasted image as needed.
Check out: How to Fix Windows Update Issues Quickly and Easily
How to Resize the Canvas
Sometimes you may need to change the canvas size before or after starting a project.
- Click on Resize in the toolbar.
- Switch to Pixels or Percentage mode to set the desired dimensions.
- You can also drag the small square handles at the corners of the canvas to manually adjust its size.
Saving Your Work in Different Formats
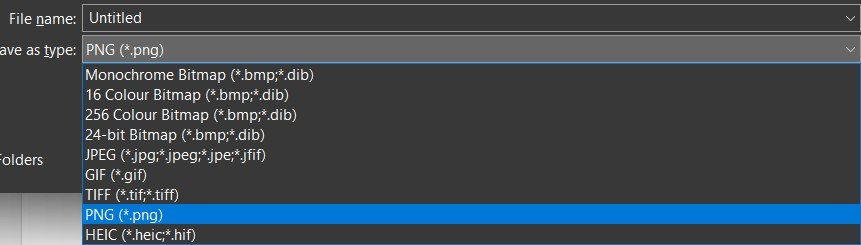
Paint supports multiple file formats, each with its use:
- JPEG: Best for photos and compressed images.
- PNG: Supports transparency and high quality.
- BMP: Large file size but high-quality images.
- GIF: Limited colours, best for simple graphics.
Choose the format depending on where you plan to use the image.
Printing Settings in Paint
If you want to print your image, you can adjust several settings:
- Click File > Print > Page Setup.
- Set margins, orientation (portrait or landscape), and scaling.
- Use Print Preview to check how it will look before printing.
This ensures the image fits the paper size properly.
Tips for Better Results in MS Paint
- Use the selection tool to isolate and edit specific areas of your drawing.
- Combine shapes and freehand drawing for cleaner designs.
- Experiment with different brush sizes and textures to create better effects.
- Save frequently to avoid losing progress.
- Always keep a backup copy of your original image.
Common Problems and Fixes
Sometimes beginners face small issues while using Paint. Here are quick solutions:
- Accidentally filled the whole canvas with colour: Undo (Ctrl + Z) and close gaps in the outline.
- Text cannot be edited: Add text carefully before clicking outside the box; otherwise, you need to add a new text box.
- Images appear stretched: Use Resize carefully and keep the “Maintain Aspect Ratio” box checked.
Using Paint with a Touchscreen or Tablet
For Windows devices with touchscreens or digital pens, Paint can be used like a drawing board. Simply select a brush and draw directly with your finger or stylus. You can adjust pen thickness and colour for better results.
Alternatives to Paint for Advanced Users
While Paint is great for beginners, some users may need more features. Options like Paint 3D, GIMP, or Photoshop provide advanced editing, layers, and effects. However, for basic drawing and editing, Paint remains a reliable tool.
Final Thoughts
Microsoft Paint remains one of the easiest tools for quick image editing and basic artwork. Its simple features, straightforward interface, and accessibility make it perfect for beginners. Whether you want to crop a photo, create a fun drawing, or design a simple background, Paint provides everything you need without complications. By understanding its tools, you can perform tasks efficiently and create neat images.
Also read: Step-by-Step Guide to Set Time and Time Zone in Windows


Large Format Kitchen Tiles: Redefining Space and Visual Continuity

The Full Breakdown: What International Travel Insurance Covers in Medical Emergencies?

What Exactly Happens After a Peace Bond Expiration?

What is PuzuTask Com? A Complete Guide for Beginners

Personal Accident Cover: Why This is the Most Important Security for Every Rider
-

 Home Improvement2 months ago
Don’t Buy a Flop: A Buyer’s Checklist for High-Quality Pop-Up Tent Frames and Mechanisms
-

 Programming1 month ago
SSIS 469: Common Causes and Troubleshooting Guide
-

 Education2 months ago
Blapttimzaq Wagerl – Words with No Meaning (Part 5)
-

 Health2 months ago
Pimple Scar Cream Explained: Ingredients, Use, and Results