
Tech
How to Screenshot on Windows: Working Methods 2025
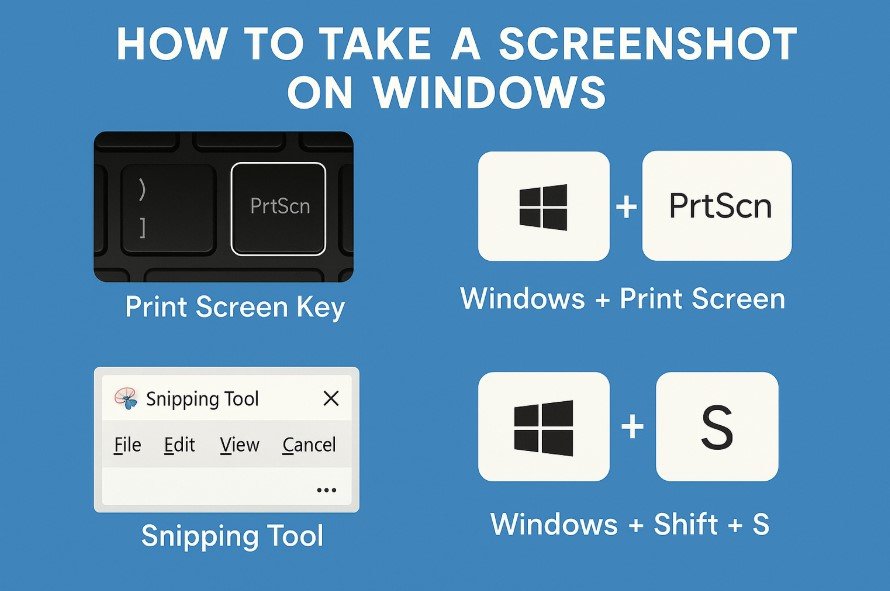
Taking screenshots on Windows is a simple and useful feature for saving information, sharing screen content, or capturing moments from your computer. Whether you are using Windows 10 or Windows 11, there are several methods to take a screenshot. This guide explains each method in detail, step by step, so that even beginners can understand how to use them.
Why Take Screenshots?
Screenshots are commonly used to capture error messages, save images from websites, create tutorials, or share something with others. Knowing the right shortcut or tool for taking screenshots can save time and effort.
Method 1: Using the Print Screen Key (PrtScn)
The Print Screen key is the simplest way to take a screenshot in Windows. It captures the entire screen and copies it to the clipboard.
Steps:
- Press the PrtScn key on your keyboard.

- Open an app like Paint or Word.
- Press Ctrl + V to paste the screenshot.
- Save the file in your preferred format.
If you have a laptop or a compact keyboard, you may need to press Fn + PrtScn instead.
Method 2: Alt + Print Screen
If you want to capture only the active window instead of the entire screen:
- Press Alt + PrtScn.

- Open Paint or any image editor.
- Paste the screenshot with Ctrl + V.
- Save the image.
This method is useful when multiple windows are open, and you only want to save the active one.
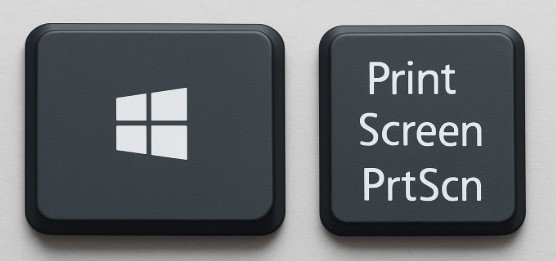
Method 3: Windows + Print Screen
This shortcut allows you to capture the entire screen and automatically save the screenshot as a file.
- Press Windows + PrtScn.
- The screen may briefly dim to show that the screenshot was taken.
- The file is saved in the Screenshots folder under Pictures.
This is one of the fastest methods if you need a saved copy without pasting manually.
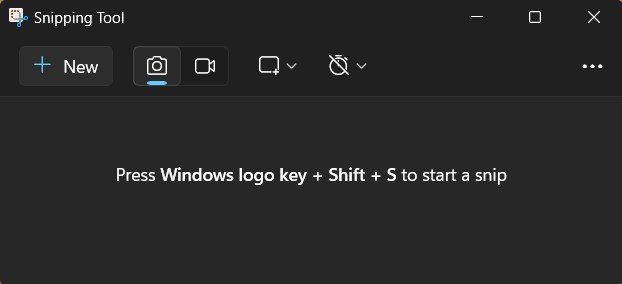
Method 4: Using the Snipping Tool
The Snipping Tool is a built-in app that allows you to take custom screenshots.
Steps to use Snipping Tool:
- Open the Start menu and search for Snipping Tool.
- Click New to start taking a screenshot.
- Drag the cursor to select the area you want to capture.
- Save the screenshot using File > Save As.
The Snipping Tool is best for taking free-form or rectangular captures.
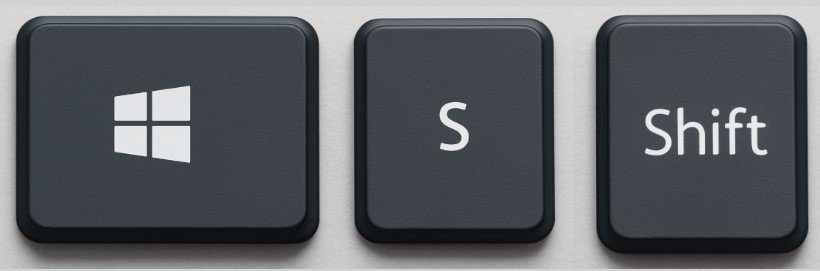
Method 5: Snip & Sketch (Windows 10) or Snipping Tool (Windows 11)
Snip & Sketch is an upgraded version of the Snipping Tool in Windows 10. In Windows 11, the features have been merged into the new Snipping Tool.
- Press Windows + Shift + S.
- The screen will dim, and a small toolbar will appear.
- Select from options such as Rectangular Snip, Freeform Snip, Window Snip, or Fullscreen Snip.
- The screenshot is copied to the clipboard.
- You can paste it into any app or edit it directly in the Snip & Sketch editor.
Method 6: Using the Game Bar
Windows Game Bar allows you to take screenshots during gameplay, but it works for other apps as well.
- Press Windows + G to open the Game Bar.
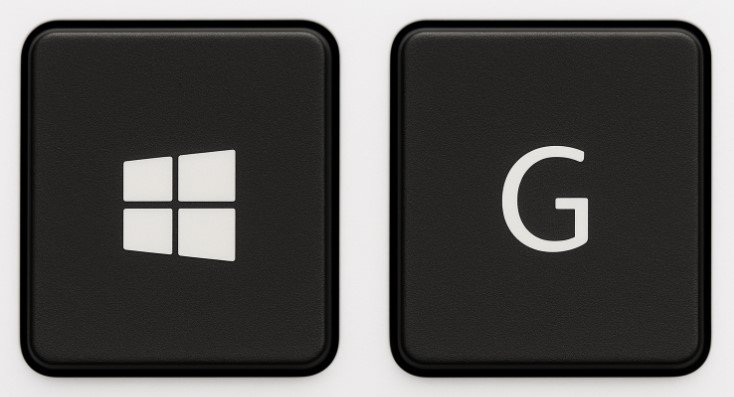
- Click the Capture button or press Windows + Alt + PrtScn.
- The screenshot is saved in the Captures folder under Videos.
This is a great option for gamers who want to capture moments during play.
Method 7: Using Third-Party Tools
If you want advanced features like annotations or scrolling screenshots, you can use third-party apps. Popular options include:
- Lightshot (Recommended)
- Greenshot
- Snagit

These tools offer additional editing and sharing features that are not available in the default Windows tools.
Also Read: How to Fix Windows Update Issues Quickly and Easily
Method 8: Taking Screenshots on Laptops

Some laptops require the Fn key to use the PrtScn function.
- For example, press Fn + PrtScn to capture the full screen.
- To save directly, use Fn + Windows + PrtScn.
Check your keyboard layout to confirm the correct key combination.
How to Find Saved Screenshots
Screenshots taken with Windows + PrtScn are saved automatically. You can find them in:
- This PC > Pictures > Screenshots.
If you use Game Bar, they are stored in: - This PC > Videos > Captures.
Screenshots taken with the Snipping Tool or Snip & Sketch need to be saved manually after editing.
Editing a Screenshot
After capturing a screenshot, you may want to edit it.
- Open Paint or Photos to crop, draw, or add text.
- Use Snip & Sketch to highlight important areas.
- For advanced editing, you can use apps like Photoshop or GIMP.
Editing helps make the screenshot clearer and more informative.
Tips for Better Screenshots
- Close unnecessary windows or tabs before taking the screenshot to avoid distractions.
- Use the correct shortcut for faster access.
- Rename your screenshot files to keep them organised.
- For web pages, consider using browser extensions to take full-page captures.
Screenshots with Multiple Monitors
If you have more than one monitor connected, pressing PrtScn will capture all screens.
- To capture only one screen, use Windows + Shift + S and drag to select the desired area.
- You can also press Alt + PrtScn to capture the active window.
Troubleshooting Screenshot Problems
If your screenshot keys are not working:
- Check if your keyboard has a function lock key.
- Update your Windows system.
- Use alternative tools like Snipping Tool or Snip & Sketch.
- Restart your computer if the shortcuts are unresponsive.
Final Thoughts
Learning how to take a screenshot on Windows is essential for everyday tasks. With various built-in options like PrtScn, Snipping Tool, and Game Bar, capturing and saving your screen content is straightforward. By exploring these methods, you can find the one that best fits your needs, whether for work, study, or sharing content online.
Need help with anything else? Check these windows guides:


Large Format Kitchen Tiles: Redefining Space and Visual Continuity

What Exactly Happens After a Peace Bond Expiration?

What is PuzuTask Com? A Complete Guide for Beginners

Personal Accident Cover: Why This is the Most Important Security for Every Rider