
Tech
How to Enable SSH on Linux for Secure Remote Access
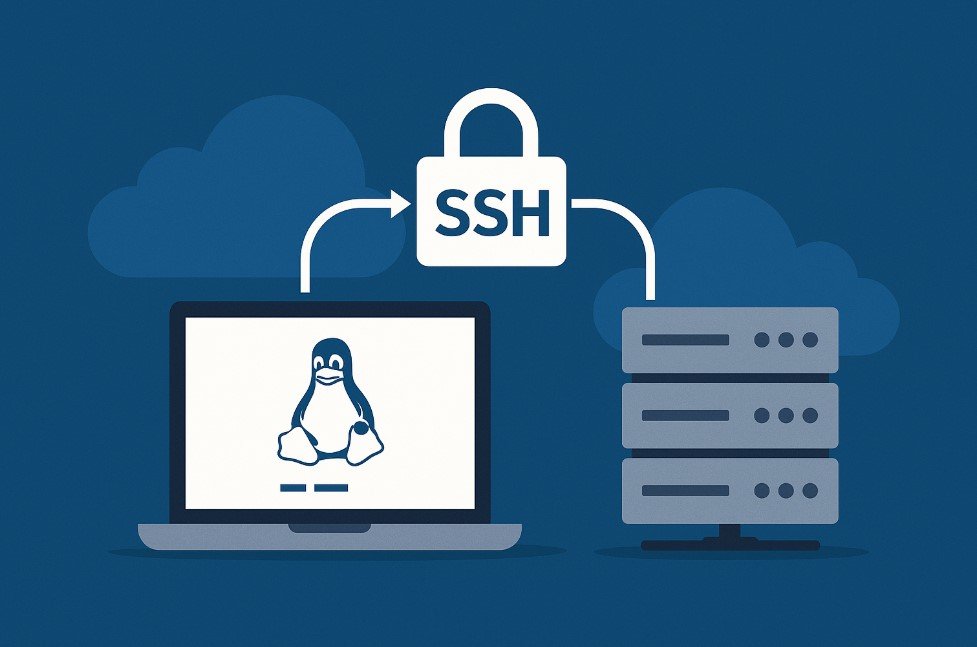
Secure Shell (SSH) is an essential tool for anyone working with Linux systems. It allows you to remotely access and manage your server or computer over an encrypted connection. Whether you’re an experienced sysadmin or a beginner setting up your first VPS, enabling SSH on your Linux system is a vital step toward secure remote access.
Here’s a simple, step-by-step guide to help you enable SSH on Linux and ensure your setup is safe and functional.
Step 1: Check if SSH is Already Installed
Most Linux distributions come with the OpenSSH package pre-installed. To check if SSH is already installed on your system, open your terminal and type:
- ssh -V
If SSH is installed, this command will display the current version. If not, you’ll need to install it manually using your package manager.
Step 2: Install the OpenSSH Server
If SSH isn’t already on your system, you can easily install the OpenSSH server package. The command varies slightly depending on your Linux distribution.
For Ubuntu/Debian-based systems:
sudo apt update
sudo apt install openssh-server
For CentOS/RHEL-based systems:
sudo yum install openssh-server
For Fedora:
sudo dnf install openssh-server
Once installed, SSH should be ready for activation.
Step 3: Start and Enable the SSH Service
After installation, you need to start the SSH service and make sure it starts automatically at boot:
- sudo systemctl start ssh
- sudo systemctl enable ssh
- On some systems, the service might be named sshd instead of ssh. If you get an error, try:
- sudo systemctl start sshd
- sudo systemctl enable sshd
- You can check its status with:
- sudo systemctl status ssh
This will let you confirm that SSH is up and running.
Step 4: Adjust Your Firewall Settings
If you have a firewall enabled, such as ufw on Ubuntu, you’ll need to allow SSH traffic:
- sudo ufw allow ssh
- sudo ufw reload
- For other firewall managers like firewalld, use:
- sudo firewall-cmd –permanent –add-service=ssh
- sudo firewall-cmd– reload
This ensures your system can accept incoming SSH connections on port 22.
Step 5: Test Your SSH Access
From another computer or your local machine, you can test your connection like this:
ssh username@server-ip-address
Replace username with your actual Linux username and server-ip-address with the IP address of your server. If prompted, enter your password.
If you successfully log in, congratulations — SSH is working correctly!
Step 6: Secure Your SSH Connection
While enabling SSH is important, securing it is equally critical. Here are a few tips:
- Disable root login: Edit the SSH configuration file (/etc/ssh/sshd_config) and set PermitRootLogin no.
- Change the default port: Also, in sshd_config, change the default port from 22 to something less common to avoid automated attacks.
- Use SSH keys instead of passwords: Generate an SSH key pair using ssh-keygen and add the public key to your server for added security.
Bonus: Transfer Files Using SSH
Once SSH is enabled, you can also use it to transfer files securely between devices. Tools like scp or rsync leverage SSH for encrypted file transfers. If you’re interested in this feature, you can follow this helpful guide on how to enable SSH on Linux and use it for safe file transfers.
Final Thoughts
Enabling SSH on Linux is a straightforward process that greatly enhances your ability to manage your system remotely. By following the steps above, you can ensure that SSH is correctly installed, configured, and secured.
Whether you’re accessing a server from across the world or transferring files within your network, SSH is a must-have tool in your Linux toolbox.


Women’s Phone Cases That Make Perfect Gifts

Ferrari SF90 Spider: Specs, Price, Performance, and Features

McLaren 765LT Spider: Specs, Price, Performance, and Features

Why Women Need More Protein Than They Realize for Healthy Hair

Clear Aligners and the Rise of “Invisible” Self-Improvement
-

 Digital Marketing2 months ago
Complete Guide to Using Uitly for Link Management
-

 Finance2 months ago
How to Build a Balanced Portfolio Using Top-Rated SBI SIP Plans
-

 Education2 months ago
Minus 40°C vs Minus 40°F: Which One is Actually Colder?
-

 Home Improvement1 month ago
2 Simple Reasons Why a Load-Bearing Soil Test is Essential